The Deploy Command
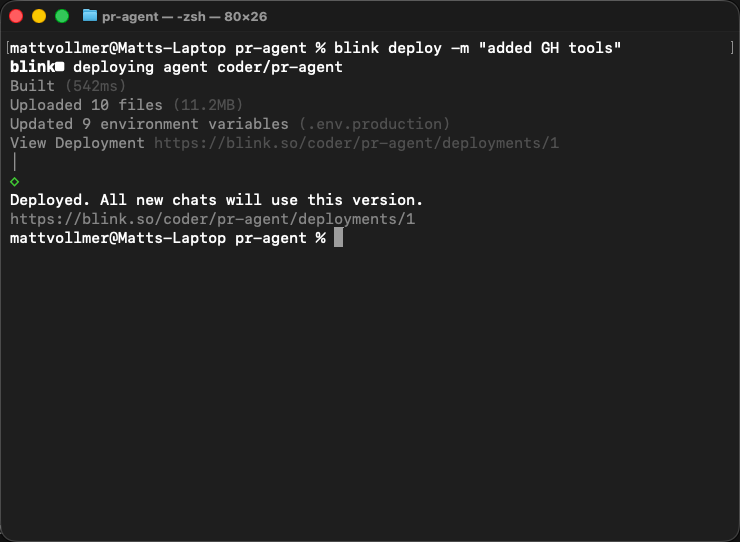
Once you’ve built and tested your agent locally, deploy it to Blink Cloud with a single command:- Builds your agent for production
- Uploads your compiled code and source files to Blink Cloud
- Syncs environment variables from
.env.production - Creates a new deployment version
- Makes your agent live and accessible to users
Blink Cloud Features
Learn about logging, tracing, debugging, and monitoring features available in
Blink Cloud.
First-Time Deployment
blink deploy for the first time, Blink will:
- Prompt for organization: Select which organization should own this agent (or automatically use your only organization)
- Create the agent: Blink creates a new agent using your
package.jsonname - Save configuration: A
.blink/config.jsonfile is created to remember your deployment settings
.blink/config.json file contains no secrets and can be committed to source control. It links your local agent to your cloud deployment.
Configuring Environment Variables
Environment variables are how your agent accesses API keys, secrets, and configuration in production.Local Development vs Production
Blink uses different environment files for different contexts:.env.local- Used duringblink devfor local development only.env.production- Deployed to Blink Cloud with your agent
1
Create .env.production
Create a
.env.production file in your project root with the variables your agent needs in production:2
Deploy your agent
Run
blink deploy. Blink automatically uploads all variables from .env.production to Blink Cloud.3
Verify deployment
Blink compares your This helps catch missing configuration before your agent fails in production.
.env.local and .env.production files. If any variables exist in .env.local but not in production, you’ll see a warning:Environment files are ignored by default. When you create a new agent,
.env
files are automatically added to .gitignore to keep your secrets safe.Webhooks in Production
If your agent handles webhooks (from Slack, GitHub, etc.), Blink provides a production webhook URL after deployment.Local Development Webhooks
Duringblink dev, Blink provides a temporary webhook URL via devhook:
Production Webhooks
After runningblink deploy, your agent gets a permanent webhook URL.
Automatic Webhook Migration
On your first deployment, if you’ve been using devhook during local development, Blink will prompt you to migrate your webhook tunnel to production:- Your devhook URL (
https://abc123.blink.host) automatically points to your production agent - Your existing webhook integrations (Slack, GitHub, etc.) continue working without reconfiguration
- You don’t need to update webhook URLs in external services
- Your agent gets a new production webhook URL
- You’ll need to manually update webhook configurations in external services
To continue developing locally with webhooks after migration, you’ll need to
reconfigure external services to point back to your new devhook URL when
running
blink dev.Deployment Workflow
Here’s the recommended workflow for deploying updates:1
Develop locally
Build and test your changes using
blink dev. Use the temporary devhook URL for testing webhooks.2
Update .env.production
If you added new environment variables to
.env.local, add them to .env.production as well.3
Deploy
Run
blink deploy to create a new deployment. Optionally, add a message describing the changes:4
Monitor deployment
Blink polls until your deployment is live. If it succeeds, all users immediately start using the new version.If deployment fails, Blink shows the error and provides a link to view logs in the dashboard.
5
Verify in production
Test your agent in Blink Cloud to ensure everything works as expected. Check the deployment logs if you encounter issues.
Deployment Versions
Eachblink deploy creates a new numbered deployment (e.g., #1, #2, #3). This allows you to:
- Track changes: See what changed in each deployment
- Roll back: Revert to a previous version if issues arise
- Compare performance: Measure improvements across versions
Troubleshooting
Deployment fails with “Missing environment variable”
Your agent code references an environment variable that isn’t set in.env.production or the Blink Cloud dashboard. Add the missing variable and redeploy.
Webhooks not working in production
Verify that:- You’ve updated the webhook URL in the service’s settings (Slack, GitHub, etc.)
- Your agent’s
requestevent handler is properly configured - The webhook URL is correct (check the output after
blink deploy)
Changes not appearing after deployment
Check the deployment status in the Blink Cloud dashboard. If the deployment succeeded but you don’t see changes:- Clear your browser cache
- Verify you’re testing in the correct organization/agent
- Check if you’re in a different chat that might have cached state